Why build a custom Nerves gateway from scratch
I've been using Nerves for a while now. Raspberry Pi, BeagleBone — the usual suspects. You pull in the official system, write your Elixir code, burn firmware,…
The Itch
I've been using Nerves for a while now. Raspberry Pi, BeagleBone — the usual suspects. You pull in the official system, write your Elixir code, burn firmware, and things just work. It's a beautiful experience, honestly. The Nerves team has done incredible work making embedded Linux approachable for Elixir developers.
But there's a ceiling you eventually hit. The official targets are general-purpose boards. They're great for prototyping, good enough for many products, but they don't teach you what's actually happening underneath. When I'd look at a nerves_defconfig file, I understood maybe 30% of it. Device trees? I knew they existed. TF-A? Something about "trusted firmware." The boot chain? It boots. That's about all I could tell you.
I wanted to actually understand this stuff. Not in the "I read a blog post about it" way, but in the "I built it from nothing and debugged every failure" way.
The Board: STM32MP157F-DK2
So I picked a board that nobody has a polished Nerves system for. The STM32MP157F-DK2 from ST Microelectronics.
It's an interesting piece of hardware. At its core is the STM32MP157 — a dual Cortex-A7 running at 800 MHz paired with a Cortex-M4 microcontroller, all on the same die. The "F" variant adds hardware cryptographic acceleration, which is a nice bonus for a gateway that'll be handling secure communications.
The spec sheet reads like a wish list for a gateway device:
- Gigabit Ethernet (proper RGMII, not USB-bridged like the Pi)
- WiFi 802.11b/g/n and Bluetooth Low Energy 4.1
- 4-inch touchscreen display (480x800, MIPI DSI)
- 4 USB-A host ports
- GPIO headers compatible with Raspberry Pi shields
- Arduino Uno V3 connectors
- An on-board ST-LINK debugger (so I don't need a separate JTAG probe)
But what really caught my attention was the dual-core asymmetric architecture. The two A7 cores run Linux — that's where Nerves and the BEAM live. The M4 core runs bare metal, independently, with deterministic real-time capabilities. They communicate through shared memory using a framework called OpenAMP/RPMsg.
This means I can run Elixir for the high-level orchestration (networking, cloud connectivity, OTA updates, business logic) while offloading time-sensitive work to a dedicated microcontroller — all within the same chip. No external MCU board, no SPI bridge hacks. Just write to a character device and the data lands in the M4's memory within microseconds.
Why Not Just Use a Raspberry Pi?
Honestly, for most projects you should. The Pi ecosystem is massive, well-supported, and Nerves works flawlessly on it. But there are real technical reasons to look elsewhere:
The Ethernet problem. On the Pi, Ethernet goes through USB internally. It's fine for most things, but for a gateway handling a lot of traffic, having a proper RGMII Ethernet controller matters. The STM32MP1's Ethernet is a real Synopsys DesignWare MAC connected directly to the memory bus.
The real-time problem. Linux is not a real-time operating system. The BEAM is not real-time either. If you need to bit-bang a protocol, sample a sensor at precise intervals, or respond to an interrupt within microseconds, you're fighting the scheduler. The M4 coprocessor solves this cleanly — it runs independently of Linux, with its own interrupt controller and dedicated peripherals.
The BLE problem. Elixir's BLE story is... developing. BlueHeron exists but it's limited. Having a dedicated processor for BLE communication — one that can run a proper BLE stack in Rust — is architecturally much cleaner than trying to wrangle BlueZ from the BEAM.
The Real Use Case
This isn't purely academic. I need a gateway for remote battery charging management. The system needs to:
- Communicate with battery chargers over industrial protocols
- Talk to BLE sensors and actuators
- Show status on a local display
- Push data to the cloud over MQTT
- Accept OTA firmware updates
- Be reliable enough to run unattended at remote sites
The architecture I landed on uses three processors across two boards:
The STM32MP1's Cortex-A7 cores run Nerves. This is the brain — MQTT client, NervesHub OTA, data storage, the Surface UI on the display, and supervision of everything else.
The STM32MP1's Cortex-M4 runs embedded Rust. It handles real-time tasks and serves as a bridge between the A7 and external hardware. Communication with Nerves happens through RPMsg — Linux presents it as /dev/rpmsg0, which is really just a shared memory buffer with hardware interrupts. No actual file I/O, no disk, microsecond latency.
A Micro:bit v2 (nRF52833) also runs Rust, acting as a dedicated BLE radio. It connects to the M4 over a simple 3-wire UART link. The Micro:bit scans for BLE peripherals, connects, receives data, and forwards it through the M4 up to Nerves. Three wires: TX, RX, GND. Both boards run at 3.3V, so no level shifting needed.
The Decision to Use Rust on the M4
I went back and forth on this. The M4 could run:
- STM32CubeIDE / HAL (C) — ST's official tooling. Well documented, lots of examples. But... it's C. And ST's HAL is notoriously verbose.
- Zephyr RTOS — A real option. Good STM32 support, RPMsg integration. But it's a big framework with its own build system, Kconfig, west tool. Another ecosystem to learn.
- Rust (no_std) — The embedded Rust ecosystem has matured significantly.
stm32mp1xx-halexists. Embassy provides async primitives. Memory safety without garbage collection is exactly what you want on a bare-metal microcontroller.
I chose Rust because I want to learn it in an embedded context, and because the safety guarantees matter when you're writing firmware that runs unsupervised at remote sites. A buffer overflow in the M4 firmware could crash the coprocessor, which would disrupt the entire gateway. Rust makes entire classes of those bugs impossible. And I love it ;)
The same reasoning applies to the Micro:bit. Embassy (the async embedded Rust framework) has excellent nRF52 support, including a BLE stack. Writing both the M4 and the BLE radio firmware in the same language means shared protocol definitions and a consistent development experience.
What This Series Will Cover
This is going to be a multi-part series documenting the entire journey. I'm writing it as I go, which means you'll see the failures, the debugging sessions, and the "oh, that's how it works" moments alongside the solutions.
Part 1 (this post) — Why I'm doing this and what I'm building
Part 2 — The STM32MP1 boot chain: ROM → TF-A → U-Boot → Linux. What actually happens when you apply power.
Part 3 — Device trees demystified. Reading the DTS files for the DK2, understanding nodes, properties, pin control, and clock trees.
Part 4 — Building the custom Nerves system. Buildroot configuration, the nerves_defconfig, and the first (failed) build attempt.
Part 5 — Flashing and first boot. Getting to an IEx prompt on custom hardware.
Part 6 — The M4 coprocessor. Device tree changes, memory regions, remoteproc, and the first RPMsg message.
Part 7 — Rust on the M4. Setting up the embedded Rust toolchain, writing the firmware, blinking an LED from IEx.
Part 8 — BLE gateway with the Micro:bit. Embassy, UART protocol design, end-to-end data flow.
Part 9 — Surface UI on the 4-inch display. DSI configuration, touch input, building a dashboard.
Part 10 — Tying it all together. MQTT, NervesHub OTA, supervision trees, and running as a real gateway.
Each post will include both the theory (what is a device tree and why does it exist) and the practice (here's the exact line I changed and why it fixed the boot failure). I want someone reading this to be able to reproduce it — not just admire it.
Getting Started
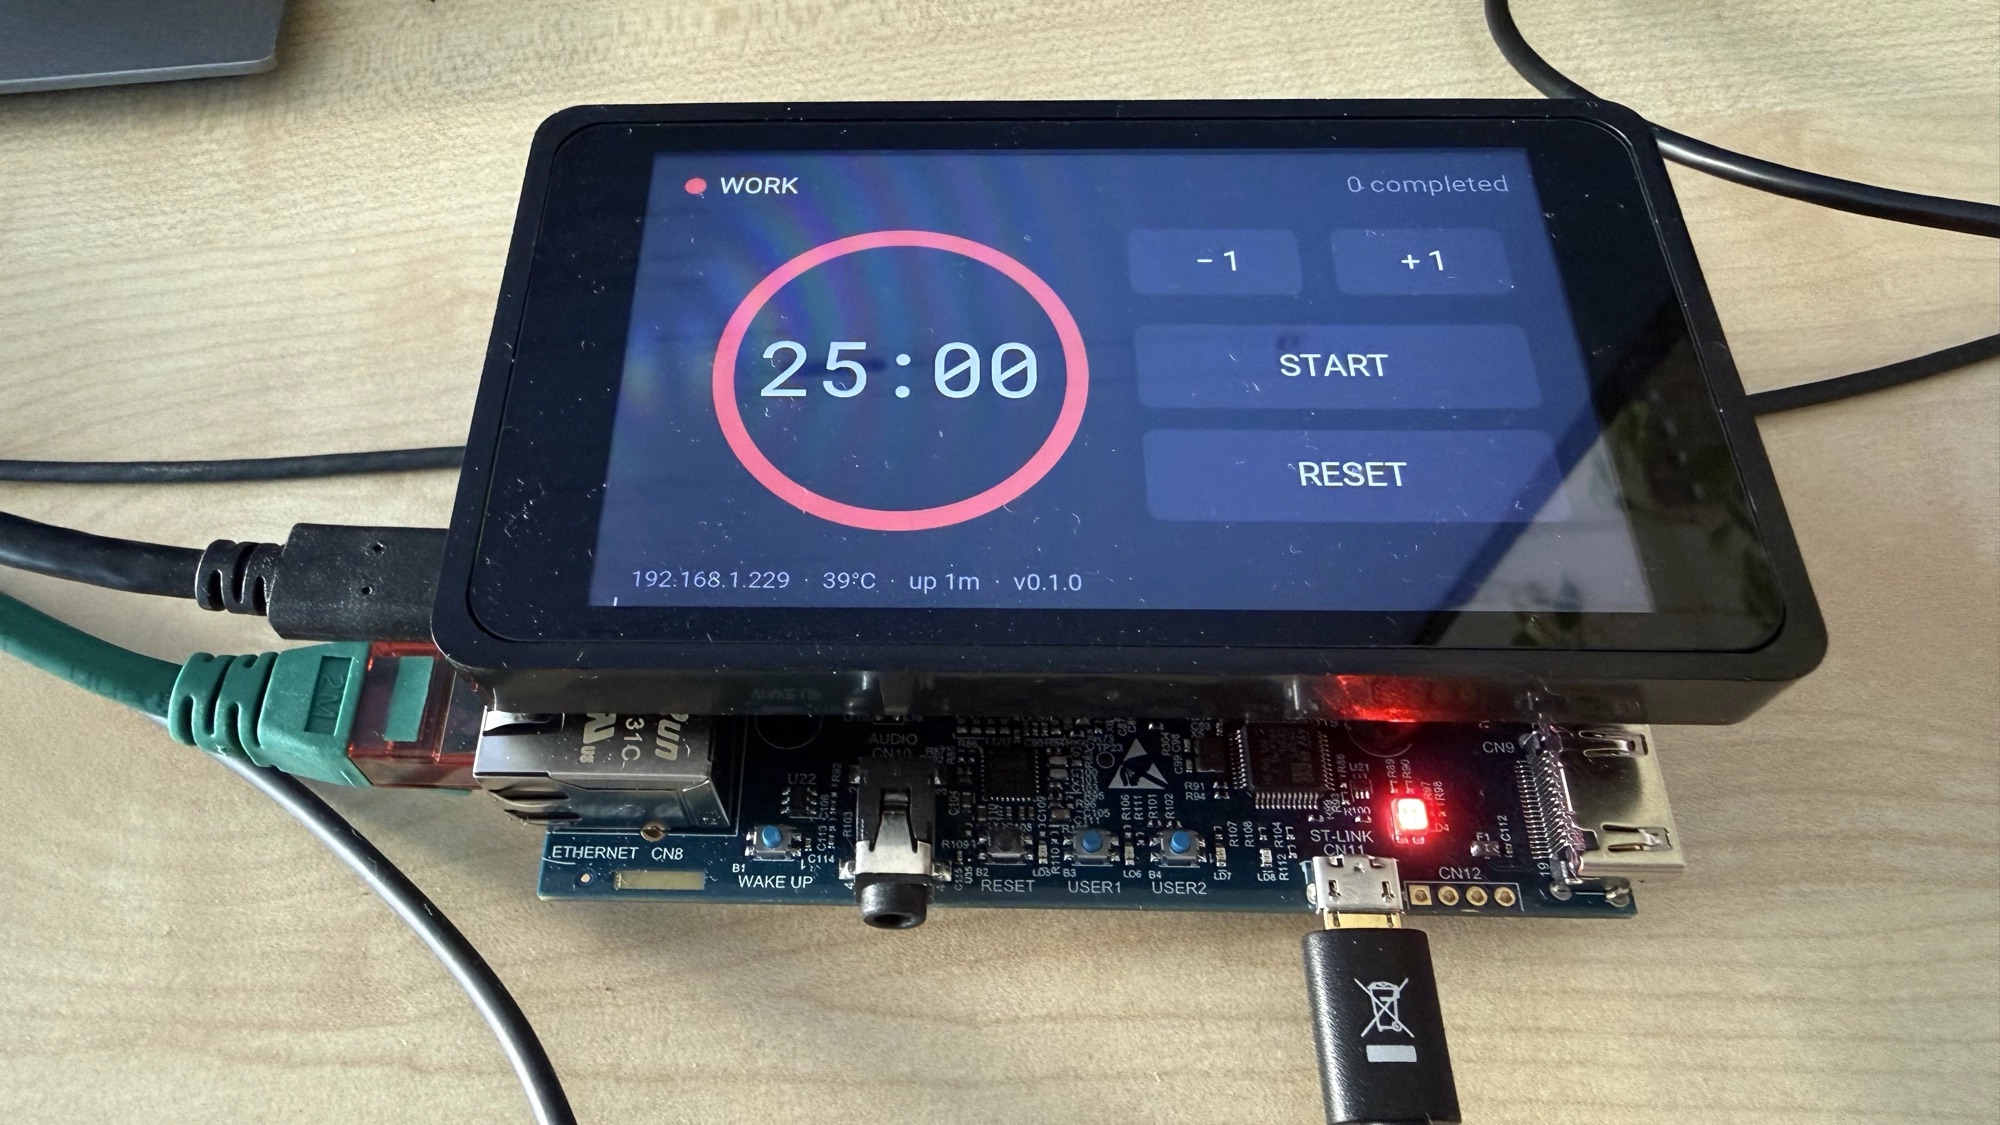
The board is on my desk, plugged in via USB to the ST-LINK. A quick lsusb confirms it's alive:
Bus 003 Device 005: ID 0483:3752 STMicroelectronics ST-LINK/V2.1
And there's a serial console waiting at /dev/ttyACM0. That's our window into the boot process. Everything starts there.
In the next post, we'll connect to that serial console and watch what happens when the board powers up. Then we'll tear apart the boot chain piece by piece, because you can't build what you don't understand.
Let's get into it.